
How to setup CI/CD? – Pipeline – Gitlab
Are you wondering how to make website live immediately after the code is push to Masterusing Gitlab? If so, you are at the right place. It is possible to directly upload changed files to your server without need to upload changed file using Filezilla, Cyberduck or from File Manager. This way you can track each and every changes from gitlab.
The process is called CI/CD (Continuous Integration/Continuous Delivery). CI/CD pipeline is a path for delivering a unit of change that starts from development to delivery. It helps you automate steps in your software delivery process. A CI/CD pipeline usually consists of the following discrete steps: commit, build, automate tests and deploy.

Steps
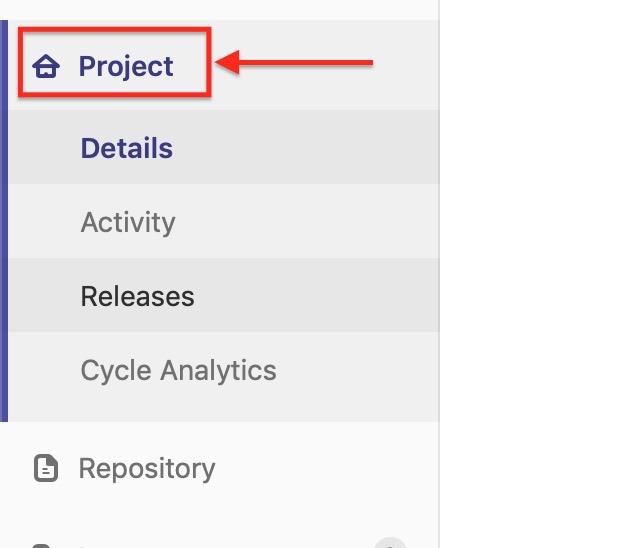
- Open your project in Gitlab(Only) where you want to setup pipeline.
- Goto Settings>>CI / CD
- Expand Variable section and type Key and values. Here is an example
- Key -> HOST and Value -> ftp.yourDomainName.com
- Key -> FTP_MASTER_USERNAME and Value -> [email protected]
- Key -> FTP_MASTER_PASSWORD and Value -> your ftp password
- Note: You can choose your own name for Key. But for this tutorial, let’s go with the name I have selected.
- Finally click Save variables. No need to bother about other options.
- Now click on project tab.
- Click + icon and select New file

- Give file name as .gitlab-ci.yml and type the following code
 deploy:
    script:
        - apt-get update
        - apt-get -qq install git-ftp
        - git config git-ftp.url "$HOST"
        - git config git-ftp.user "$FTP_MASTER_USERNAME"
        - git config git-ftp.password "$FTP_MASTER_PASSWORD"
        - git ftp init
    only:
        - master
- Type some commit message and click Commit changes
- Now go to CD / CI -> Pipelines and click Run Pipeline button.
- Make sure you have all web files in your current repository.
- If your ftp root address is correct for the detail you have provided in Variable section, once the pipeline is completed, you will see the changes on your server.
- Once your Pipeline is completed, go to project and open .gitlab-ci.yml file once again.
- Now change
- git ftp initto-git ftp push. Here is full script.
deploy:
    script:
        - apt-get update
        - apt-get -qq install git-ftp
        - git config git-ftp.url "$HOST"
        - git config git-ftp.user "$FTP_MASTER_USERNAME"
        - git config git-ftp.password "$FTP_MASTER_PASSWORD"
        - git ftp push
    only:
        - master
- Now whenever you push your code to this Repository from your local machine to Master branch, the changes are automatically updated in your server file as well. And you can directly see the changes in your website.
Isn’t that cool and easy to make your work more dynamic and productive? Let me know how did you feel about this post and if there were any problem please let me know down in comment section. I will be happy to help you.
Thank you.